

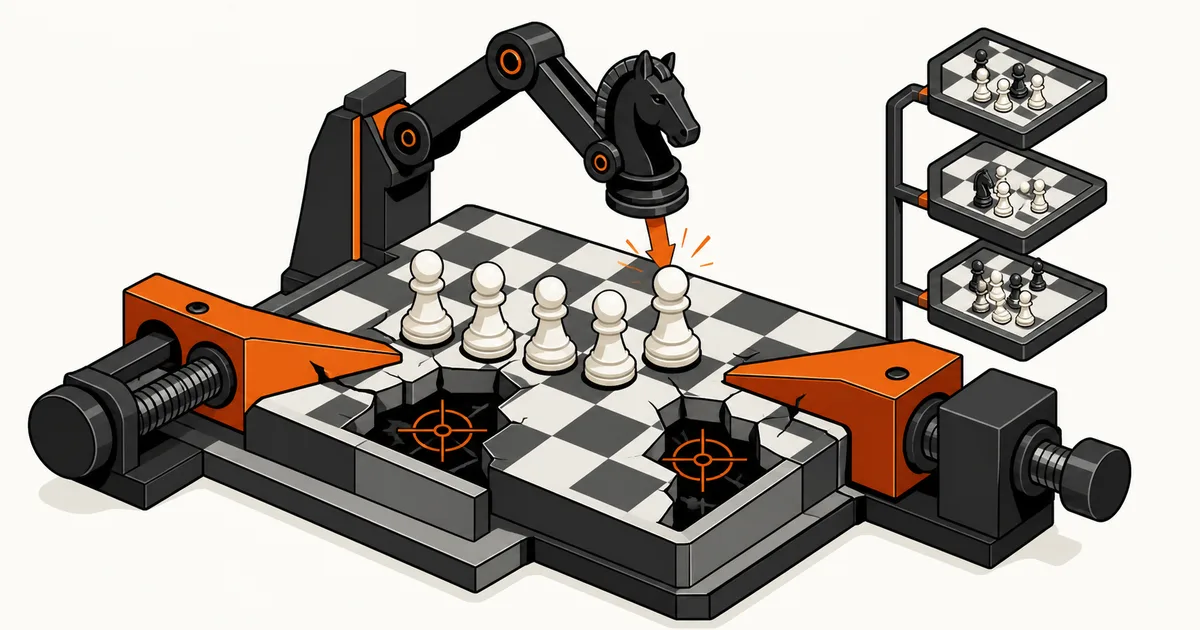
The Alekhine Defense begins with `1.e4 Nf6`. Black attacks the e4-pawn and invites White to gain space with `2.e5`, usually sending the knight to d5. The idea is hypermodern: let White build a center, then challenge that center with pawn breaks and piece pressure. This does not mean White’s space is automatically weak or that Black can delay development indefinitely. A useful repertoire separates the Modern, Exchange and Four Pawns structures, because each asks Black to attack a different central commitment.
The Alekhine Defense begins with 1.e4 Nf6. Black attacks the e4-pawn and invites White to gain space with 2.e5, usually sending the knight to d5. The idea is hypermodern: let White build a center, then challenge that center with pawn breaks and piece pressure.
That bargain is not automatic. White’s space can support an attack if Black only retreats, while White can become overextended if the center advances faster than the pieces. A practical repertoire must therefore separate the Modern, Exchange and Four Pawns structures instead of treating every Alekhine position as the same setup.
What is the Alekhine Defense?
The Alekhine Defense is Black’s reply 1...Nf6 to 1.e4. The knight immediately attacks e4 rather than supporting a pawn challenge first. After 2.e5, the common retreat 2...Nd5 encourages White to decide how much central space to claim.
Black’s concept is hypermodern: central control can come from pressure, pawn breaks and piece activity, not only from occupying the center with pawns. White receives space, but that space creates responsibilities. The central pawns must remain supported, development must continue, and every further advance changes the squares left behind.
Black, meanwhile, cannot rely on the opening’s concept as compensation for lost time. The knight has moved twice after 2...Nd5, so moves such as ...d6, development and king safety need to become concrete priorities.
The opening’s central bargain
After 1.e4 Nf6 2.e5 Nd5, White has gained space and Black has accepted a retreat. The position revolves around three connected questions:
- How many pawns will White commit to the center?
- Which break will Black use against that center?
- Which pieces can increase pressure without falling behind in development?
Black’s first central challenge is commonly ...d6. Depending on White’s response and the resulting structure, Black may exchange on e5, increase pressure against d4 and e5, or prepare another challenge such as ...c5. These are plans, not a promise that one break works in every position.
White’s task is equally concrete. Extra space matters only when the pieces can use it. If White keeps adding pawns while the king and minor pieces remain undeveloped, Black may gain useful targets. If White develops efficiently, Black’s provocative strategy can leave less room for error.
Train the Alekhine by structure
- Connect each white center to Black’s break
- Separate Modern, Exchange and Four Pawns plans
- Recall critical decisions with spaced review
The Alekhine Center-Challenge Map
Use this map when building or reviewing a repertoire. It is a manual editorial matrix, not an automatic ChessFlare feature. It does not evaluate positions, select a best move or classify a game for you. Its purpose is to connect each central structure to a training decision.
| Branch | White center commitment | Black break | Pressure target | Danger signal | Training branch |
|---|---|---|---|---|---|
Root after 2.e5 Nd5 |
e5-pawn gains space and attacks the knight | Prepare ...d6 |
e5 and the support behind it | More knight moves without development | Save the first center-choice position |
Modern with 3.d4 d6 4.Nf3 |
White supports e5 with d4 while developing | Decide whether to exchange on e5 or maintain pressure against e5 and d4 | d4, e5 and the pieces defending them | Black attacks before completing development | Train the response to White’s developed center |
Exchange with 3.d4 d6 4.c4 Nb6 5.exd6 |
White uses c4 and d4, then releases the e5 tension | Recapture on d6, then prepare the next central challenge | d4 and the files or diagonals shaped by the recapture | Treating both recaptures as the same structure | Store separate recapture branches |
Four Pawns with 3.d4 d6 4.c4 Nb6 5.f4 |
White commits pawns on c4, d4, e5 and f4 | ...d6 has challenged e5; prepare ...c5 only with piece support |
The center’s base and its defenders | White develops freely while Black only attacks pawns | Train the break only with piece support |
The reusable question is: what has White committed, which break challenges it, which target should Black pressure, and what warning tells me the plan is mistimed?
Modern Variation: pressure without rushing
A defining Modern structure begins 1.e4 Nf6 2.e5 Nd5 3.d4 d6 4.Nf3. White supports the advanced e5-pawn and develops a knight instead of immediately adding c4 and f4.
This gives White a broad but comparatively restrained center. Black has already challenged it with ...d6 and must decide how to coordinate the remaining pieces around that tension. Kingside development with ideas such as ...g6, ...Bg7 and castling may support later pressure, but these moves are a development family rather than a forced sequence.
Black should track two central targets. The e5-pawn is the visible advanced pawn; d4 is often the support point that helps White keep space. Pressure against one square may force a defender to become passive or prepare a later break against the other.
White’s practical plan is to use the space without blocking development. The pieces should support the center, create useful squares behind it and remain ready for Black’s exchanges. White does not need to advance simply because more space is available.
For training, save the position where Black must choose between exchanging central tension, increasing pressure and completing development. Annotate three items:
- Which white pawn is currently under pressure?
- Which black piece is not yet contributing?
- Does the planned break open lines for Black, or merely release White’s center?
The example move order identifies the structure; it is not presented as a forced continuation or an engine recommendation.
Exchange Variation: the recapture changes the plan
The Exchange Variation can arise after 1.e4 Nf6 2.e5 Nd5 3.d4 d6 4.c4 Nb6 5.exd6. White has gained space with c4 and d4, then resolves the e5–d6 tension.
Black must now treat the recapture as a structural decision. Recapturing with the c-pawn or e-pawn produces different files, diagonals and central responsibilities. A repertoire should not store one generic Exchange label and assume the same plan follows both choices.
White’s center is no longer defined by an advanced e5-pawn. The important questions shift toward d4, development and the pawn structure created on d6. Black should identify which pawn break remains available and which pieces gain useful lines from the chosen recapture.
White often wants to preserve the space advantage, develop without creating a static target and use the resulting structure rather than chase the knight further. Black wants coordinated development and pressure against the center, not pawn attacks unsupported by pieces.
Create two Exchange sub-branches if your repertoire includes both recaptures. For each branch, record:
- the pawn now occupying d6;
- the open or half-open file created by the exchange;
- the bishop whose diagonal changed;
- the next central break to prepare;
- the position where your plan first differs from the other recapture.
The danger signal is vague recall: if you remember only that Black recaptures on d6, you have not yet learned which structure follows. Train the first plan-changing position, not just the shared opening moves.
Four Pawns Attack: challenge the chain, respect the space
The Four Pawns Attack begins with the central commitment 1.e4 Nf6 2.e5 Nd5 3.d4 d6 4.c4 Nb6 5.f4. White has pawns on c4, d4, e5 and f4, creating an imposing space advantage.
Black’s idea is to challenge that center, but the size of the target does not make it weak by definition. If White develops smoothly and Black spends too many moves attacking pawns with one piece at a time, White’s space can become a platform for active play.
Black should first identify the chain. The d4-pawn supports e5, while c4 and f4 reinforce White’s spatial grip and influence future breaks. The move ...d6 contests e5; a later ...c5, when supported and appropriate, can challenge d4 and the base of the center. The order matters because opening lines before the king and pieces are ready can help White.
White should resist the temptation to advance every pawn again. Development, king safety and control of the squares behind the center determine whether the space is durable. A pawn advance that gains another square may also abandon a defender or create a fixed target.
Train the Four Pawns branch around signals rather than a long recital:
- Center intact: identify which pawn supports the chain.
- Black prepared: check whether the break is backed by development.
- Tension created: decide whether to maintain, advance or exchange.
- Line opened: name which bishop, rook or knight benefits.
- Center changes: update the branch instead of repeating the original plan.
This branch suits calculation exercises because one pawn exchange can transform several piece lines. The moves shown define the branch; they do not claim that later play is forced.
Plans for Black
Challenge the center with preparation
...d6 is the first thematic challenge after White advances e5. In some structures, ...c5 adds pressure against d4. A break should have a purpose: open a line, undermine a defender or improve piece activity.
Turn pawn space into piece targets
An advanced center occupies squares, but it also needs defenders. Black can ask which white piece is tied to e5 or d4 and whether pressure can force an awkward concession. Attacking the same pawn repeatedly is useful only when the pieces remain coordinated.
Finish development
The Alekhine Defense begins with extra knight movement. Black should therefore be suspicious of plans requiring several more moves from the same piece. Development and king safety are part of the counterattack, not chores to postpone until the center has been attacked.
Plans for White
Use space to improve the pieces
White’s center should create better squares and easier movement. If the pieces remain on their starting squares, the pawns are occupying space without exploiting it.
Support the center without overprotecting it
Every defender has another job. White should distinguish a pawn that genuinely needs support from one that is being defended out of habit while Black develops elsewhere.
React to the break, not the opening’s reputation
When Black plays a central break, White may maintain tension, advance or exchange according to the actual position. The label hypermodern does not prove that White’s center will collapse.
Common Alekhine Defense mistakes
Assuming every large center is overextended
Space is not a weakness on its own. Black must create a concrete challenge with coordinated pieces and a correctly timed break.
Attacking before developing
A pawn may be a target, but opening the center while Black’s king remains exposed can reverse the point of the opening.
Treating the knight retreat as the whole strategy
...Nd5 preserves the knight and invites further expansion. It does not complete Black’s plan. The next task is to challenge the center while bringing new pieces into play.
Mixing the Modern, Exchange and Four Pawns plans
The branches share an opening move order but not an identical center. Store them separately and annotate the first structural difference.
Forcing a memorized example
The move orders in this guide identify structures. They are not forced lines. If the opponent changes the center, stop replaying the example and reassess the map.
Expanding without a development check
White can also misuse the opening. Before another pawn move, ask whether a minor piece or king-safety move would make the existing center stronger.
How does it differ from other defenses to 1.e4?
The Scandinavian Defense challenges e4 immediately with 1...d5. The French Defense begins 1.e4 e6 and commonly prepares ...d5. The Caro-Kann Defense begins 1.e4 c6, also supporting a later ...d5 challenge.
The Alekhine Defense uses a piece first: 1...Nf6 attacks e4 and invites e5. Choose between these defenses by the structures and decisions you want to train, not by assuming one opening is universally simpler or stronger.
Who should play the Alekhine Defense?
The Alekhine can suit players who enjoy asymmetrical development, visible central targets and positions where pawn breaks must be timed carefully. It rewards players willing to learn why a center changes, not only where the knight retreats.
It may be a poor fit if you dislike conceding early space, want the same pawn structure in every game or prefer development that follows a fixed order. The Four Pawns structures can demand precise calculation, while quieter choices by White may lead to different branches outside this guide’s three-family focus.
Test one Modern, one Exchange and one Four Pawns position before committing to a full repertoire. Notice which side’s decisions feel natural to you.
A practical Alekhine training plan
Start by creating or importing a repertoire. Make 1.e4 Nf6 the root, then organize three main chapters: Modern, Exchange and Four Pawns. A chess opening tree helps you see where the shared move order separates into distinct structures.
For every chapter, complete the Alekhine Center-Challenge Map manually:
- Record White’s center commitment.
- Name Black’s intended break.
- Identify the pawn and defending piece under pressure.
- Write one danger signal showing when the plan is mistimed.
- Save the first position where the branch requires a different decision.
Then use Opening Trainer for active recall. Do not ask only for the next move. Before revealing it, say the branch name, the central target and the purpose of the move. This connects move memory to the structure.
Keep the initial repertoire shallow. For the Modern branch, train Black’s response to a developed e5–d4 center. For the Exchange branch, split the recapture structures. For the Four Pawns branch, train the moment when a break changes the pawn chain.
If you repeatedly forget the same position, reduce it to one cue and one decision using a deliberate opening-memory method. Add depth only after the first structural choice is reliable.
Finally, return to the branches through spaced review and SM2. Spacing does not decide whether a move is correct; it schedules another recall attempt. When your repertoire changes, update the branch and its explanation together so that old plans do not survive beneath new moves.
The Alekhine Center-Challenge Map remains a manual framework. ChessFlare can be used to create or import a repertoire, organize its branches, practise active recall and schedule review. This article does not claim that ChessFlare automatically detects the center, recommends a break or fills the matrix.
Honest limits of this guide
This guide gives no engine evaluations, win rates, popularity rankings or universal best-move claims. It focuses on stable opening names, defining move orders and practical planning questions.
The example continuations are announced, non-forced structure markers. They do not replace calculation of the current position. White can choose quieter alternatives, and each featured branch contains additional sidelines that belong in a complete repertoire.
Use the map to understand why a branch exists. Use the actual position to decide what move it deserves.
Alekhine Defense FAQ
Short answers about 1...Nf6, the hypermodern idea, the Modern, Exchange and Four Pawns structures, and practical repertoire training.
What is the Alekhine Defense?
The Alekhine Defense begins with 1.e4 Nf6. Black attacks e4 with the knight and may invite White to advance the pawn with 2.e5.
Why is the Alekhine Defense called hypermodern?
Black initially allows White to occupy more central space, then aims to challenge that center with pawn breaks and piece pressure rather than occupying it immediately.
What is the Modern Variation of the Alekhine Defense?
A defining Modern move order is 1.e4 Nf6 2.e5 Nd5 3.d4 d6 4.Nf3, where White supports the center while developing.
What is the Exchange Variation?
The Exchange Variation can arise after 1.e4 Nf6 2.e5 Nd5 3.d4 d6 4.c4 Nb6 5.exd6. Black’s recapture choice shapes the later pawn structure.
What is the Four Pawns Attack?
The Four Pawns Attack uses c4, d4, e5 and f4 to claim space. Black must challenge that center without neglecting development and king safety.
Does ChessFlare automatically create the Alekhine Center-Challenge Map?
No. The map is a manual editorial framework. ChessFlare can organize repertoire branches, support active recall and schedule SM2-based review, but no automatic map generation is claimed.